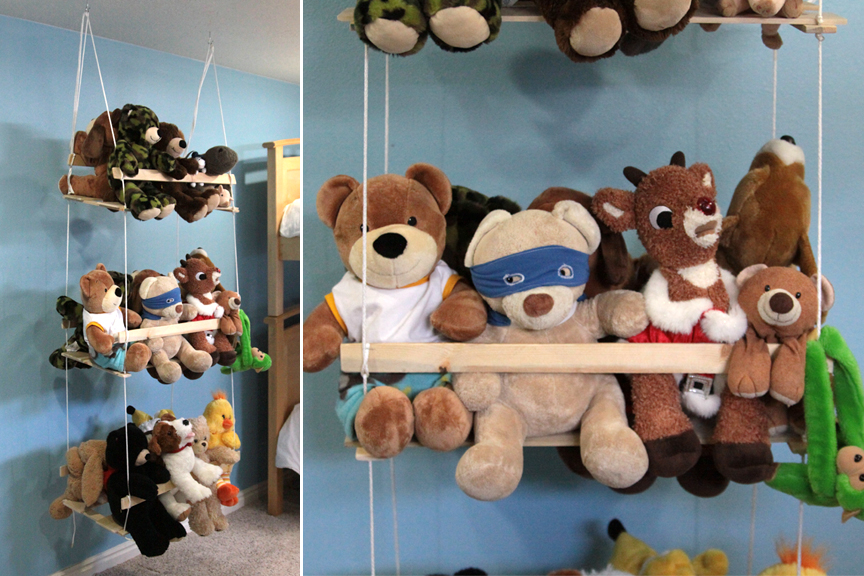
Hanging Stuffed Animal Storage
So, you're tired of stepping on your kids' stuffed animals and toys all the time, huh? Don't worry, we've all been there. But fear not, my fellow parent, because we've got a DIY solution for you! Introducing our foolproof hanging toy storage, which will not only help you get rid of the clutter, but also add a decorative touch to your child's bedroom.
First things first, you'll need to gather the necessary materials. It's a fairly simple process, so no need to fret! All you'll need is:
- Cotton fabric (you can choose any design of your choice)
- Matching thread
- 16" wooden dowels
- White nylon cord
- Grommet Tape
- Scissors
- Sewing Machine
- Measuring Tape
- Iron
Once you have all the required materials, it's time to get started with the process.
Step 1: Cut the cotton fabric into 29" x 20" size rectangles. You'll need two pieces of fabric for each hanging toy storage.
Step 2: Lay the two pieces of fabric on top of each other and fold the top end over about 2" to make a fold. Iron the fold down. Repeat the same process for the bottom end.
Step 3: Sew the two pieces of fabric together on both sides, leaving the top and bottom ends open.
Step 4: Take one of the wooden dowels and slide it through the top fold of the fabric.
Step 5: Tie the white nylon cord around the ends of the wooden dowel tightly.
Step 6: Slide the second dowel through the lower fold of the fabric, and tie the nylon cord around the ends of the dowel tightly, making sure the two wooden dowels are parallel to each other.
Step 7: Measure 6 inches from both ends of the dowels and mark a dot. Loop the cord over the dot, so that the cord hangs down, and tie a knot to prevent the cord from slipping off.
Step 8: Sew the grommet tape on both sides of the toy storage about 3 inches away from the top. The grommet tape should look like small eyelets.
And voila! Your hanging toy storage is ready to use! It's a fun and easy way to keep your child's toys and stuffed animals organized, and it also adds a cute touch to their bedroom decor.
But wait, there's more! Here are a few tips to get the most out of your hanging toy storage:
- Make sure to hang the toy storage at your child's height so they can access their toys easily.
- If you have more stuffed animals than space in the toy storage, rotate them every few weeks to keep things fresh.
- If you want to make the storage more personal, consider adding your child's name to the fabric using iron-on transfer paper, or a fabric marker.
- If you'd like to make them more accessible for your children, consider using clear nylon cord instead of the white one.
- If your child has bigger toys like teddy bears and wants them in the storage too, make sure the cords are spaced out appropriately to accommodate them.
- Lastly, don't forget to have fun with it! Let your child help you choose the fabric and design, and make it a fun DIY project together.
And that's it, folks! With this DIY hanging toy storage, you'll not only have a fun and creative way to keep your child's clutter organized, but also have a great bonding experience with your child.
Have you tried this DIY project? Let us know in the comments below!


Post a Comment for "Hanging Stuffed Animal Storage"