How To Make A Stuffed Animal Hammock
Are you tired of stepping over stuffed animals lying on the floor? Do you want to organize them in a playful and creative way? Look no further than a DIY stuffed animal hammock! Not only does it declutter your child's room, but it also serves as a fun decoration. Here are 12+ easy and creative ways to make your very own stuffed animal hammock.
The first step in creating a stuffed animal hammock is to gather your materials. You will need fabric, rope, a sewing machine, scissors, and a drill. Once you have your materials, cut your fabric into a large rectangle. Fold the top edge of the fabric over and sew it into a loop. This will provide a spot to thread the rope through.
Next, drill holes into the walls where you want to hang your hammock. Thread the rope through the loop you created earlier and tie it to the drilled holes. Adjust the rope until it is taut and the hammock is hanging straight.
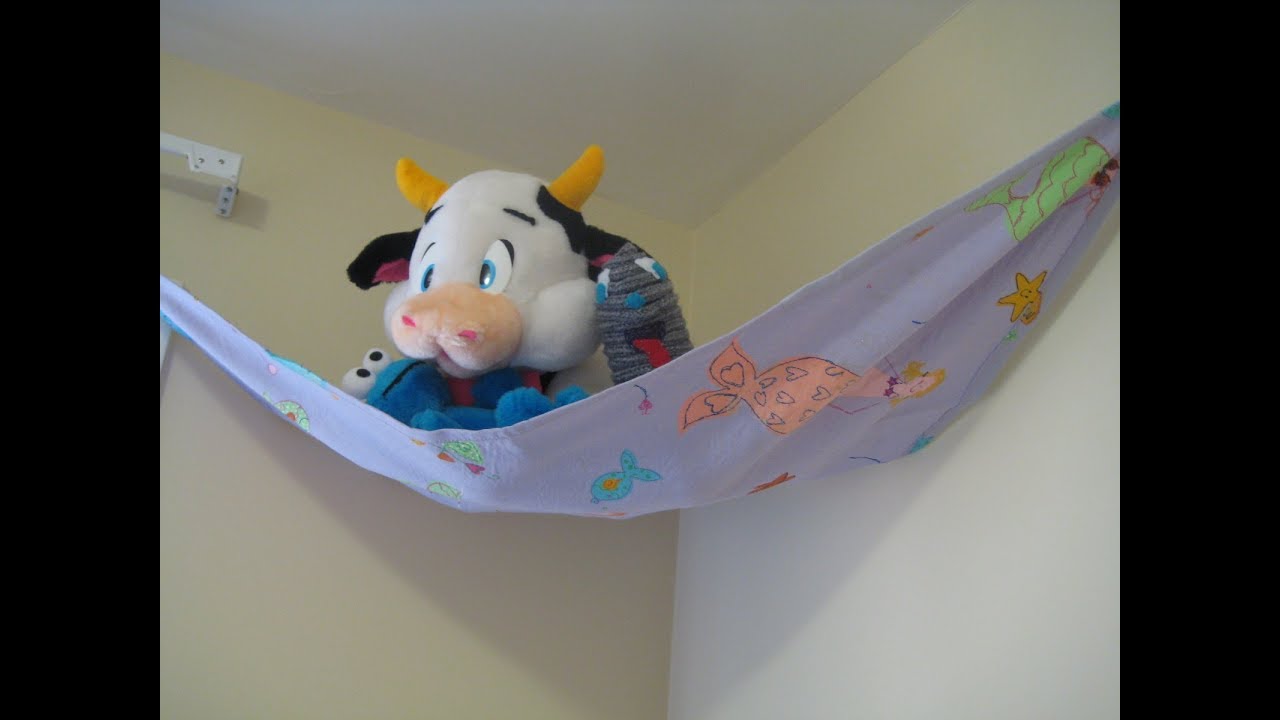
Now comes the fun part, decorating your hammock! The sky is the limit when it comes to choosing a theme for your hammock. You can opt for a rainbow or unicorn theme, or choose your child's favorite character.
Another idea is to create a hammock out of a mesh laundry bag. Simply tie the bag to two hooks and fill it with stuffed animals. This is a quick and easy solution that can be done in under five minutes.
You can also make a hammock out of a towel. Start by folding the towel in half, and then fold it in half again. Cut two holes at the folded end of the towel, and then thread a rope through them. Tie the rope to two hooks on the wall, and voila! You have a makeshift stuffed animal hammock.
If you don't have a sewing machine, don't worry! There are plenty of no-sew options for making a stuffed animal hammock. One idea is to use a shoe organizer. Hang it on the wall and fill the pockets with stuffed animals.
Another no-sew option is to use a hanging plant basket. Simply hang it on the wall and fill it with stuffed animals. This is a great option if you want to add some greenery to your child's room as well.
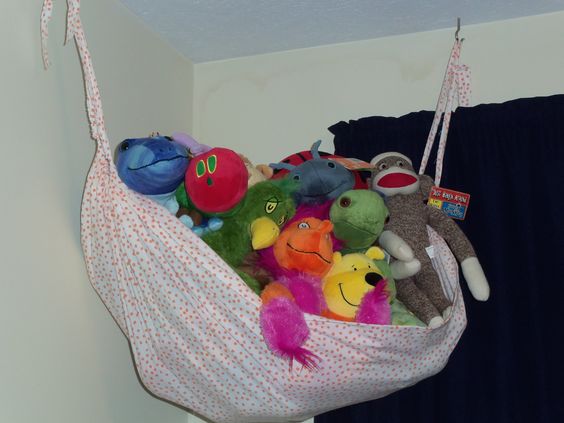
If you're feeling extra creative, you can make a hammock out of a repurposed crib sheet. Cut the sheet in half lengthwise and fold each half in half again. Cut four small holes at the folded end of each half and tie them together with rope. This creates a fun and unique look for your child's room.
If you have a large number of stuffed animals, you may want to create a tiered hammock. Using a few pieces of wood, create a frame for your hammock. String rope across the frame at different levels to create multiple tiers. Hang your stuffed animals on each level for a fun and organized display.
If you're feeling adventurous, you can make a hammock out of old t-shirts. Cut the t-shirts into strips and weave them together to create a hammock. This is a great option if you have a large collection of t-shirts that you no longer wear.
If you want to create a more permanent fixture in your child's room, you can create a stuffed animal hammock out of wood. Cut a piece of wood to the desired size and shape, and then drill holes into the wood. Thread rope through the holes and tie it to the wall. This creates a hammock that is both functional and stylish.
Creating a stuffed animal hammock is a fun and easy DIY project that is perfect for any parent. Whether you choose to create a simple no-sew hammock or an elaborate tiered display, your child is sure to love the end result. So what are you waiting for? Get started on your very own stuffed animal hammock today!

Post a Comment for "How To Make A Stuffed Animal Hammock"